How to Make a Bottle Label: From Idea to Finished Print Run
To make a bottle label, you need to go through five steps: measure the label area of the bottle, choose a material for the storage conditions, gather the mandatory information, prepare artwork with bleed, and decide how the labels will be applied: by hand or with an applicator. The last point defines the format: sheet labels suit small batches, while roll labels are made for application on a line. Aladdin Print prints both.
A shopper looks at a bottle on the shelf for only a few seconds. In that time the bottle label has to tell them what is inside and make the product look worth its price. But even the best design will not help if the label wrinkles on the neck, peels off in the fridge or jams in the applicator. Here is how to make a bottle label that works both on the shelf and on the production line.
Step 1. Measure the bottle
The label size is set by the bottle, not the designer. Take the actual bottle and measure:
- The height of the straight section. A label only goes on the cylindrical part. Leave 3–5 mm from the top and bottom edges so the label does not run onto the shoulder or the curve at the base.
- The circumference. Wrap a strip of paper around the bottle and mark where it meets. For a full wrap-around label, allow a 5–10 mm overlap, or leave a gap if the edges should not meet.
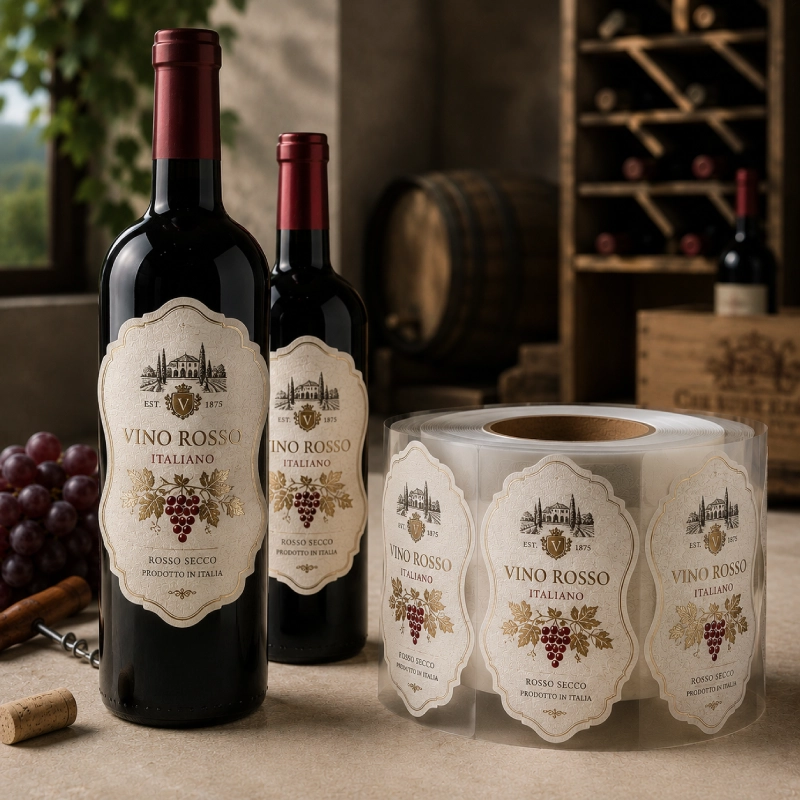
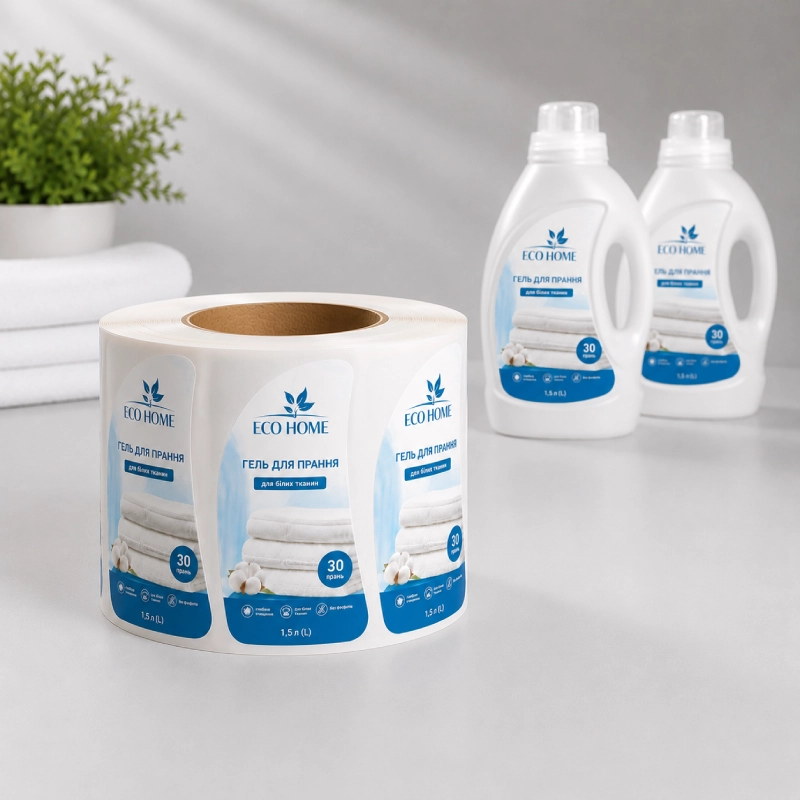
- The taper. If the bottle narrows, as most wine and oil bottles do, a straight label will sit unevenly. For such bottles the label is made in an arc shape, and the die-cut is matched to the specific bottle.
Before the print run, always test a printout on a real bottle. Bottles of the same volume from different suppliers often differ by a few millimetres.
Step 2. Choose the material
Bottle labels live in tough conditions: condensation, fridges, ice buckets, oily hands. The material is chosen for what will happen to the bottle after filling.
| Product | Conditions | Material |
|---|---|---|
| Wine, sparkling wine | chilling, condensation, premium presentation | designer wine paper, film for sparkling wine |
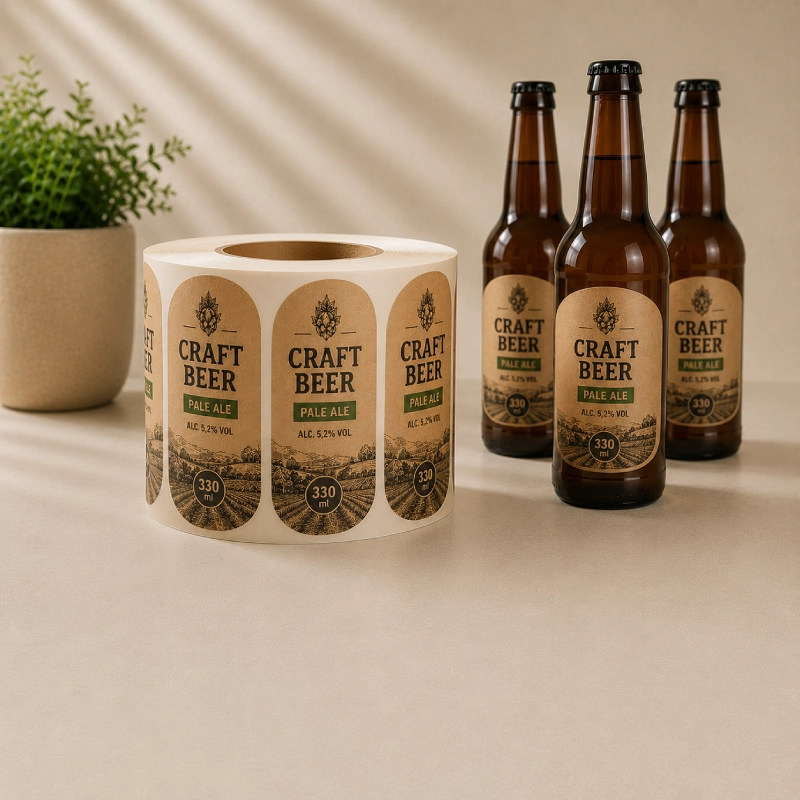
| Craft beer, cider | fridge, wet hands | film or laminated kraft paper |
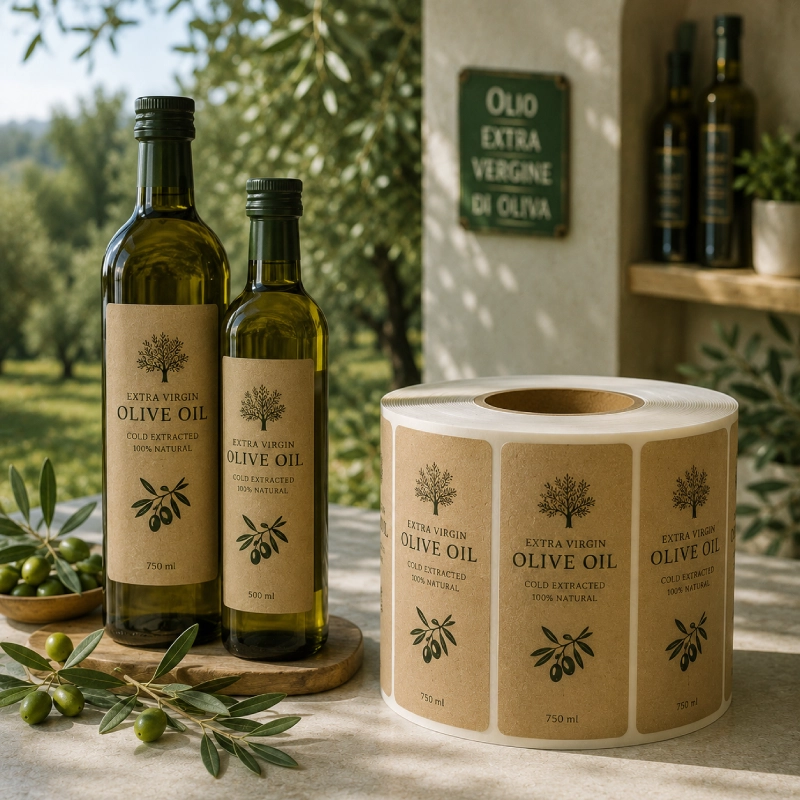
| Oil, sauces | grease stains, long storage | film or laminated kraft |
| Juice, water, drinks in PET | cold, squeezing of the plastic bottle | white or clear film |
| Household and car chemicals | chemicals, abrasion | white or silver metallised film |
The main rule: if the bottle will be in contact with water or cold, plain unprotected paper will not do. It gets wet, darkens and peels off. Film and laminated paper do not have these problems.
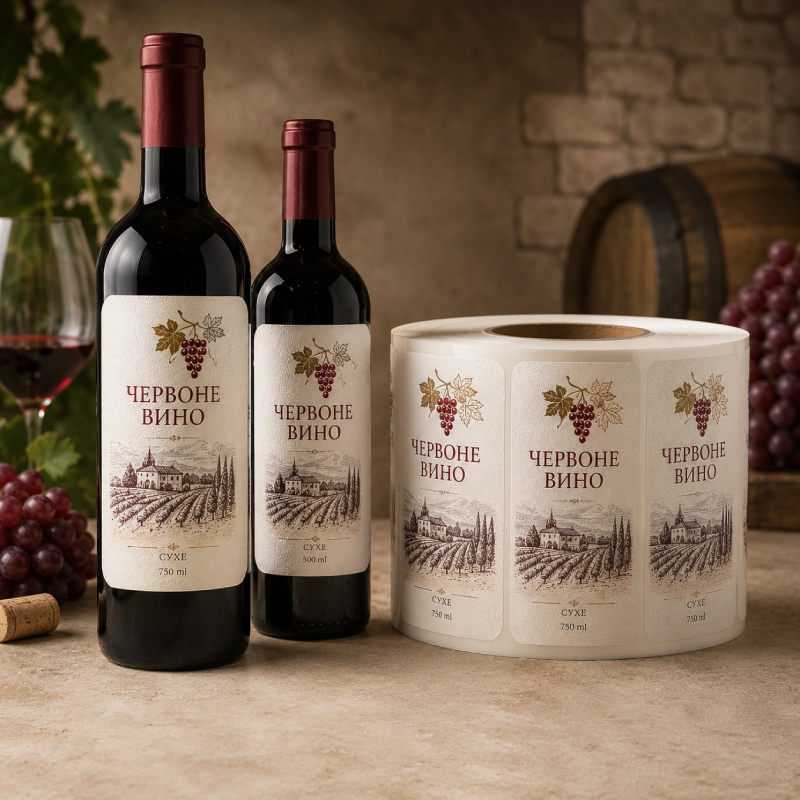
A wine label is most often printed on textured designer paper: it emphasises the premium feel of the wine, while die-cutting and foil stamping make the bottle stand out on the shelf. A beer label lives in the fridge and in wet hands, so film or laminated kraft paper is the usual choice.
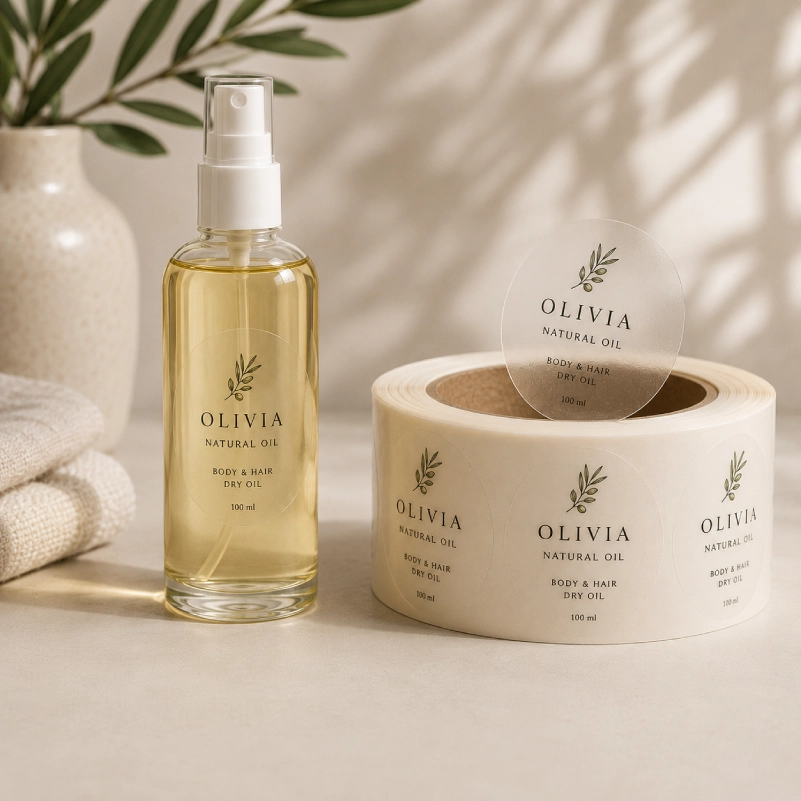
A clear bottle label creates a “no-label” look: the text seems to be printed straight onto the glass. Keep in mind that clear film is printed in CMYK without white ink, so light elements on dark glass will be barely visible. This option works best on clear bottles with light-coloured contents.
Step 3. Gather the mandatory information
For food and drinks sold in Ukraine, label content is regulated by the Law of Ukraine “On Consumer Information on Food Products”. A bottle usually needs:
- the product name and the producer with address;
- ingredients with allergens highlighted;
- net volume or weight;
- production date, best-before date and storage conditions;
- alcohol content in percent for alcoholic drinks;
- a barcode and, where required, a conformity mark.
Check the final list with a food technologist or certification specialist: requirements depend on the product category. If there is a lot of information, a back label helps: a smaller label on the reverse side of the bottle that carries the ingredients, company details and barcode. For vintage or ageing on wine, a neck label is used. The bottling date and batch number are easy to add with variable numbering during printing.
Step 4. Prepare the artwork
- Bleed. Add 2 mm of background on each side so no white strip is left along the edge after die-cutting.
- Safe zone. Keep text and logo at least 2–3 mm from the cut line.
- Die-cut line. For shaped labels, supply the cut contour as a separate layer.
- Small text. Ingredients and company details should be no smaller than 6 pt, otherwise they are hard to read.
- Colour. Artwork in CMYK, fonts converted to outlines, images at least 300 dpi.
The full list is on the artwork requirements page. If you have no artwork, the Aladdin Print design studio will create it from scratch. Designers work by appointment, so allow extra time for design.
A word on finishing. Metallic foil stamping and matte or gloss lamination give a label a premium look and protect the print from rubbing off. For wine and spirits, this is often the deciding factor on the shelf.
Step 5. Choose the format: roll or sheets
The format depends on how you will apply the labels and how many bottles you produce.
- Sheet labels are printed from one A3 sheet with a 300×420 mm print area. They are applied by hand, so this format suits trial batches, seasonal products and small producers.
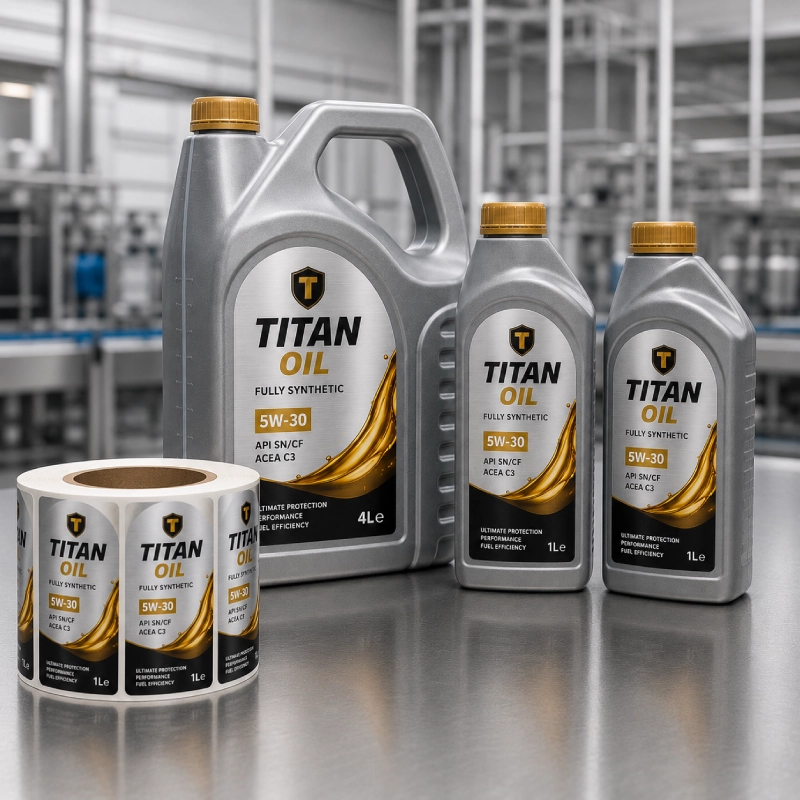
- Roll labels are printed from 10 linear metres on a 30 cm wide web. Rolls are needed for automatic application on a line or applicator.
A simple guideline: from about 20 A3 sheets, switching to rolls becomes more cost-effective. If you are ordering rolls for an applicator, tell the manager the unwind direction and core diameter of your equipment in advance. A label wound the wrong way simply will not run on the line.
From artwork to print run at Aladdin Print
- Quote. Send your artwork or describe the bottle, product and quantity. The manager will suggest the material and format.
- Trial batch. Business clients often print a few sheets first and test the label on real bottles: how it sits, whether it wrinkles, whether it survives the fridge.
- Printing and quality control. Each team member checks the work of the previous stage, and the whole process runs through an ERP system. Roll labels are produced from one day.
- Delivery. Pick-up from the office in Kharkiv or Kyiv, our own delivery in Kharkiv, or Nova Poshta anywhere in Ukraine. Payment by VAT invoice or via a payment link.
Launching a new drink or refreshing your label? Send a photo of the bottle and your artwork, and the manager will prepare an exact quote for your run. Aladdin Print has been printing labels since 2007 and has more than 2,200 reviews.
Frequently asked questions
How to make a bottle label that does not peel off in the fridge?
Choose film or laminated paper and apply the label to a dry, grease-free bottle at room temperature. No label holds reliably on a fogged-up bottle.
What is the minimum run for bottle labels?
On sheets, from one A3 sheet: as many labels as fit on it make up the minimum run. On rolls, from 10 linear metres of 30 cm wide web.
How to make a label for a tapered bottle?
For a tapered bottle, the label is made in an arc shape so it sits evenly around the bottle. The cut shape is matched to the specific bottle, so it is worth testing a printout before the run.